
Good to WOW: Noise Reduction
a repost by ashley sisk of ramblings and photos
a repost by ashley sisk of ramblings and photos
Earlier this year, I started a project with Jill Samter called Good to Wow (or Shoot and Edit). Every Monday morning, Jill posts a SOOC (straight out of the camera) shot and tutorial. Every Thursday morning, I will have my SOOC shot fully edited with a tutorial for you to follow.
I'm going to keep it pretty simple at first so we can build on the learning each week. Although I tend to work within Adobe CS5 (Photoshop), Photoshop Elements and Adobe Camera Raw...it does not mean that you have to use the exact same program. I hope you'll be able to take the concepts and apply them in the program you feel most comfortable using. Click HERE for all the details and upcoming prompts/themes.
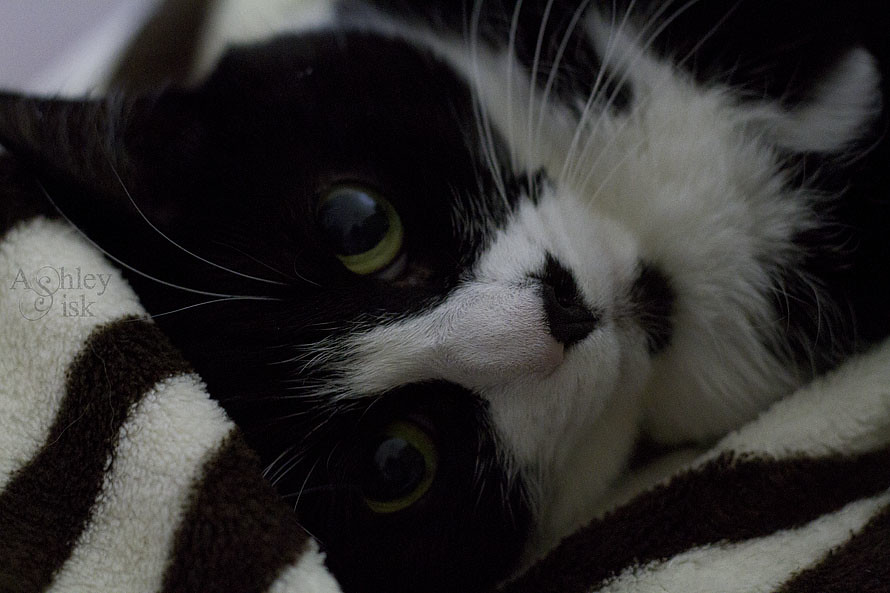
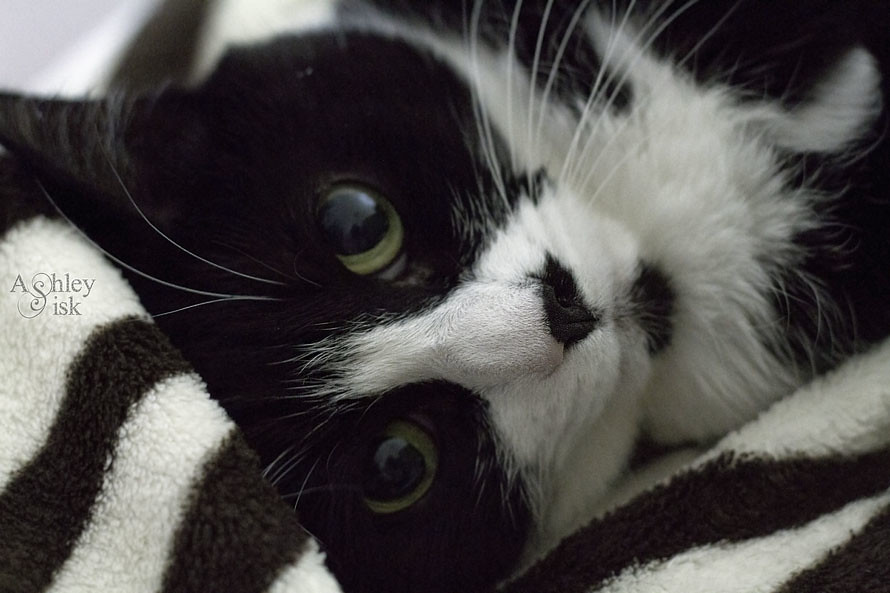
Here is my SOOC shot:
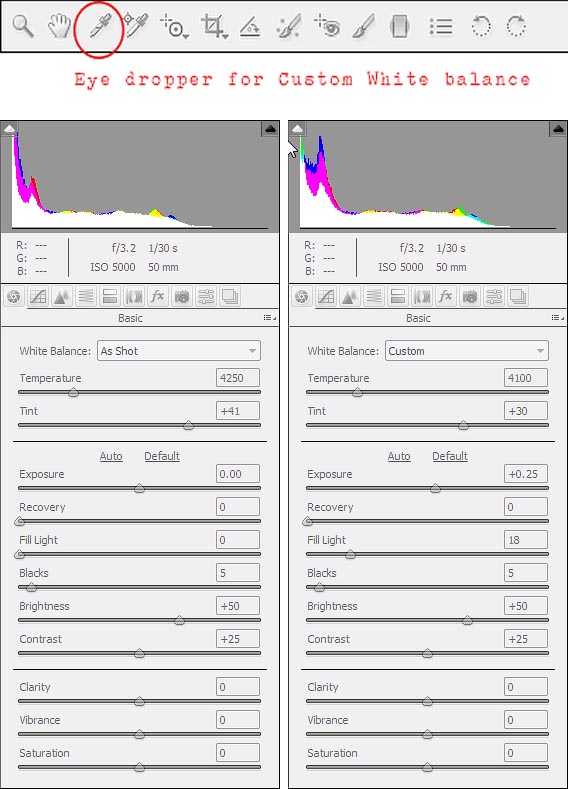
Also, for those of you that shoot in JPG format, but would like to use Adobe Camera Raw if you only knew how to use it (and of course, this applies to Photoshop Elements and Photoshop users). Open your program and go to OPEN AS. A pop up menu will come up. Select your image and use the drop down menu to select AS CAMERA RAW. Select open and wallah!
I will tell you that if you are interested in doing more batch processing (LightRoom users would tell you to use LR), you can batch process using Adobe Camera Raw, BUT you need to shoot RAW. If you are shooting JPG, ACR will only allow you to work with one photo at a time (correct me if I'm wrong). The difference between shooting raw over jpg is:
- RAW files TAG the cameras setting
- JPG files APPLY the cameras settings
- When shooting raw files, how you set your camera up for picture control is not saved on the raw files, it is only tagged.
- The ISO setting is the only setting that is applied to the image file when the the camera is set to shoot in raw format.
- Curves Adjustment - if you want to brighten your image, pull up the curve....if you want to darken your image, pull down the curve.
- Levels Adjustment
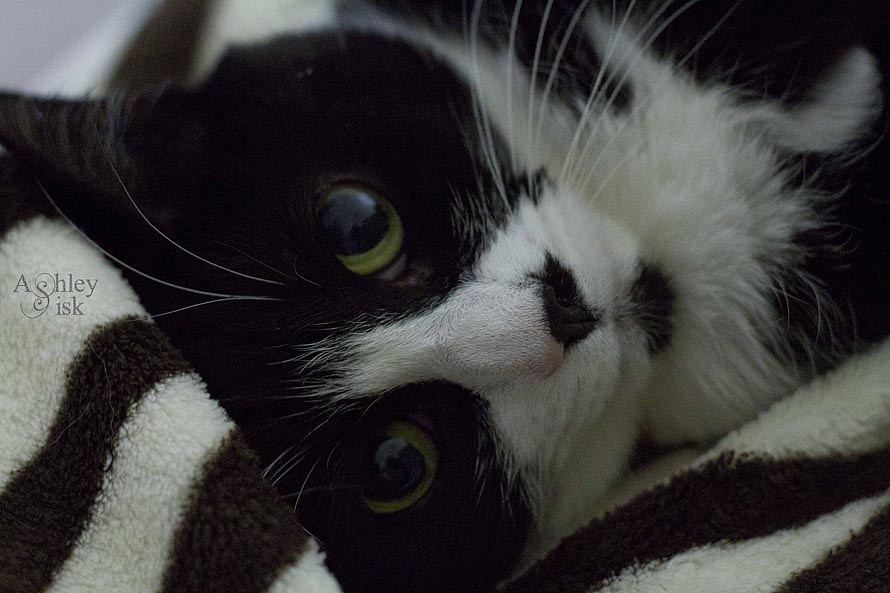
- Hue/Saturation Adjustment - pulling down the reds and yellows (otherwise, Kitty Paw has what I call "Alien Eyes." No one wants alien eyes.).
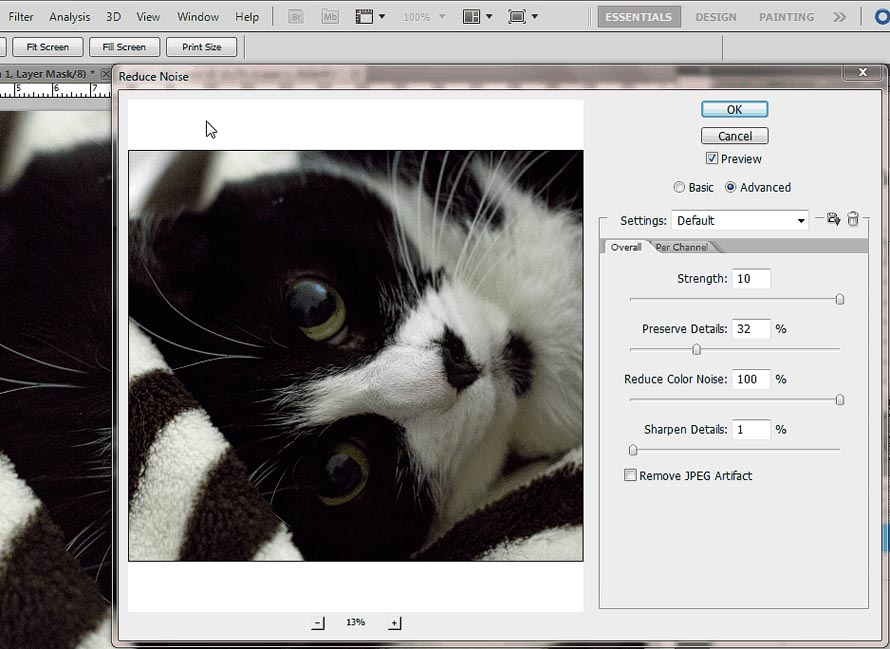
At this point, I merged my layers and experimented with my REDUCE NOISE FILTER. There are a couple of ways that you can reduce noise (and Paper Heart Camera wrote a great tutorial on this the other day, but I thought I'd elaborate).
- Noiseware Community Edition (free) - this program is separate from your editing software, but it is a wonderful solution for reducing noise. However, it will erase your EXIF data. For the average user, this is not a big deal...but considering that I like to share my EXIF data with you, I felt that it was important to keep mine in tact. There is a plug-in available for a price (which I will likely purchase in the near future).
- Reduce Noise Filters in Photoshop and Photoshop Elements (I've posted videos below for Lightroom users). In either PS or PSE, go to FILTER (at the top of your screen) > NOISE > and select your preference for reducing noise.
- Reduce Noise - click on the image above for a tutorial
- Median - I often use this for an overall compression of noise. It's quick and simple.
- BLUR. Believe it or not, I have blurred an image to get rid of noise. Two techniques:
- Gaussian Blur - to use this technique effectively, you really should use layer masks and paint on the effect (refer to last week's lesson about layer masks). ALWAYS use low opacity brushes any time you're painting on effects like this (25% opacity). I could have easily used this effect around the edges of this photo where the detail was not important.
- Smart Blur - to use smart blur, you must adjust your radius (how far the filter searches for dissimilar pixels to blur - I adjusted mine to 5.7), threshold (how different the values of pixels should be before they are eliminated - I adjusted mine to 63.1), quality (I used high), and mode (what parts of the image receive the blur. Normal specifies that the blur be applied to the entire selection, whereas Edge Only and Overlay Edge specify that the blur be applied only to the edges of color transitions. Where significant contrast occurs, Edge Only applies black-and-white edges, and Overlay Edge applies white. - I used normal).
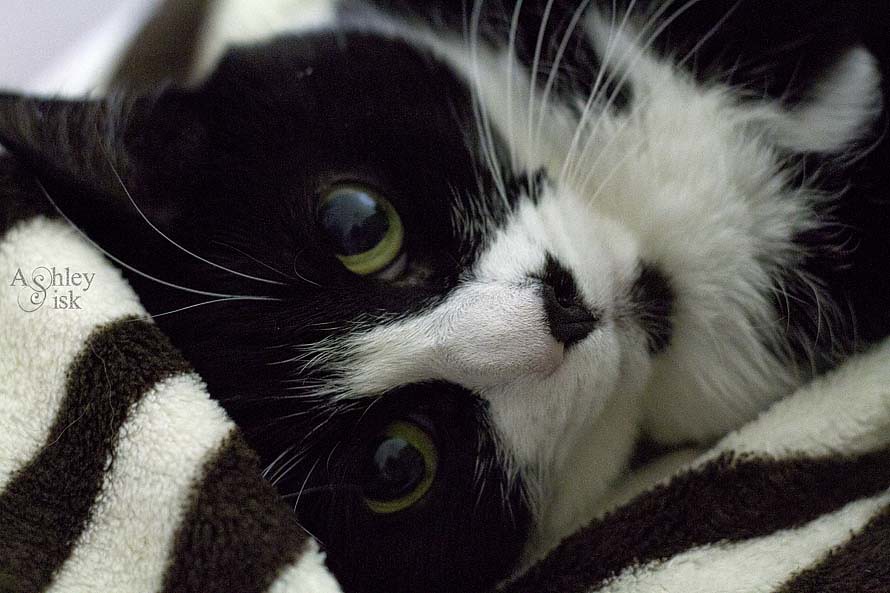
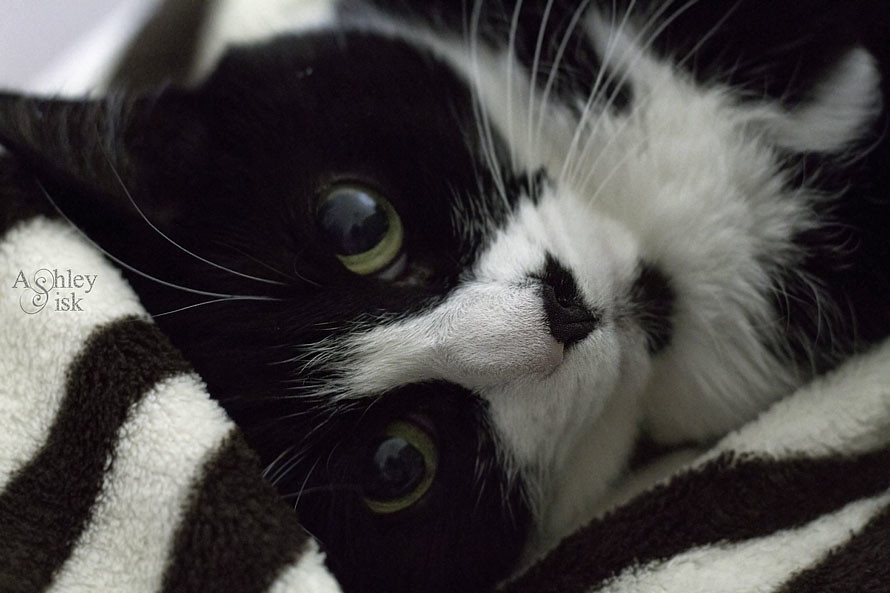
Regardless of what approach you use to reduce noise, reducing noise is almost always needed when shooting in low light conditions (thus the reason I felt it was important to cover noiseware this week). Also, layer masks can be effect to erase the effect from part of the image. With the image above, I used a layer mask to erase the effects from her nose because it looked nice and sharp...and I didn't want to lose that.
I'm sure I could have simply converted the image to black and white, but I honestly didn't like a complete black and white conversion. I did, however, add a black and white layer (using the lighten preset) and lowered the opacity to 30%.
I'm sure I could have simply converted the image to black and white, but I honestly didn't like a complete black and white conversion. I did, however, add a black and white layer (using the lighten preset) and lowered the opacity to 30%.
Alright, we're almost done (and it's honestly taken me longer to write out the steps than it did to edit the photo - don't be discouraged by the amount of text).
To enhance the eyes...there are a number of actions out there to really make this easier on you. However, I thought it might be nice to give you some tips that did NOT include an action. After you've merged all your previous layers (CTRL+E or Command+E), create two duplicate layers:
To enhance the eyes...there are a number of actions out there to really make this easier on you. However, I thought it might be nice to give you some tips that did NOT include an action. After you've merged all your previous layers (CTRL+E or Command+E), create two duplicate layers:
- Duplicate Layer 1: Change the Blending Mode to Screen. Add a Layer Mask - fill it BLACK. Use a soft white brush at 25% opacity and paint over the eyes to lighten the color (you could also do it with brightness/contrast).
- Duplicate Layer 2: Go to FILTER>OTHER>HIGH PASS FILTER....just as we've done in the past, use a soft light blending mode. However, add a layer mask - fill it BLACK and use a soft white brush at 25% opacity to paint over the eyes. You only want the eyes to pop. If it looks like too much, lower the opacity of that layer. If it's too noisy, delete the layer.
I hope you'll find this lesson helpful. Just let me know if you have any questions (ashley.sisk [at] gmail.com). Also, if you don't want to wait until my next muse university post, you can check out the rest of this series HERE.
_______________________________
repost by ashley
Join us every weekend for a new muse university post!
If you would like to provide a post for this series, please contact kat [at] kateyeview.com
3 comments:
whewww....now that is what I call a lesson! First of all...what a gorgeous model for today and what you did with this foto....amazing for sure. I am loving these lessons...thanks so VERY much!!!
i always love your tutorials!
Great tutorial Ashley. I always learn something (often LOTS) from your tutorials, thanks!
Post a Comment
thank you for visiting. take a moment and say hi!