It's happened. Your love affair with photography has taken a turn blossoming into something deep, meaningful, and everlasting. You've started shooting everywhere you go, the grocery store, the gas station, the mall, documenting every aspect of the world around you. Only there's something missing. Despite the fact that you've filled your memory card for the 50th time, you've noticed you've only got three great shots to show for it. So what gives? Perhaps its time to streamline your craft in search of the decisive moment. That instantaneous second when all the elements of an image are expertly rolled into one fantastic shot creating magic. The kind of magic we want to view again and again.
Henri Cartier-Bresson, 20th Century French photographer, widely considered to be the father of modern photojournalism, put it more succinctly when he said, "There is a creative fraction of a second when you are taking a picture. Your eye must see a composition or an expression that life itself offers you, and you must know with intuition when to click the camera. That is the moment the photographer is creative."
Here are five tips for finding & documenting your own decisive moments.
1.
Plan Ahead
Sometimes the perfect setup is obvious. You're in a specific location or situation where something memorable is going to happen. Think wedding or birthday party, festival or event. Right there, half your work is done, you can already envision the image. Next, try to get your settings nice and tight before taking the shot. Depending on your level of experience, how much time you put into this will vary. If you're a newbie when it comes to changing camera settings on the fly, get in position and shoot some test shots of the surrounding area to get a feel for the light. If you're worried about missing that specific split-second, don't hesitate to shoot in burst mode giving you at least two or three chances to get it right.
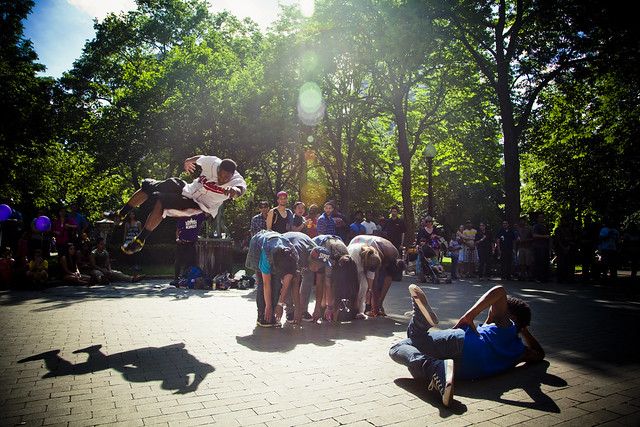
This was shot at the Rittenhouse Row Festival in Center City Philadelphia. The setup was obvious; we all knew what was going to happen. While the performers arranged the final moment of their act, I moved into position with plenty of time to assess the light and line up the lens flare with the figures in the middle.
2.
Practice Patience & Wait
Now that you're in position and have assessed your situation (taken those test shots), it's time to wait for the decisive moment to happen. Go back to the old adage "Patience is a virtue," and observe what's happening around you. Don't hesitate to throw in a deep breath or two to keep yourself calm so you don't give in to the impulse to start shooting haphazardly. Imagine yourself shooting film, where every frame on that roll of 24 exposures counts. You'd only give the moment 2 or 3 takes at most then, right? So allow the decisive moment to come to you, and don't give up hope when it doesn't happen right away.
The lead singer of this band repeatedly sank down on his knees during his performance. I stabilized my camera by setting it down on the edge of the stage and waited for him to repeat his act. When he finally looked my way, I knew I had my shot.
3.
Turn on Your Emotional Radar
Feel your way to shooting the decisive moment. Look for displays of emotion around you, simple gestures that tell a story, animated expressions and exaggerated motions. Follow along with conversations so that you can predict what might happen next. Observe your surroundings searching for compositional elements that lend themselves to an interesting shot. Having a strong understanding of composition will help you recognize and feel the right balance between tension and emotion within your frame, so that when the action begins to unfold, you're ready to recognize just the right moment to shoot.
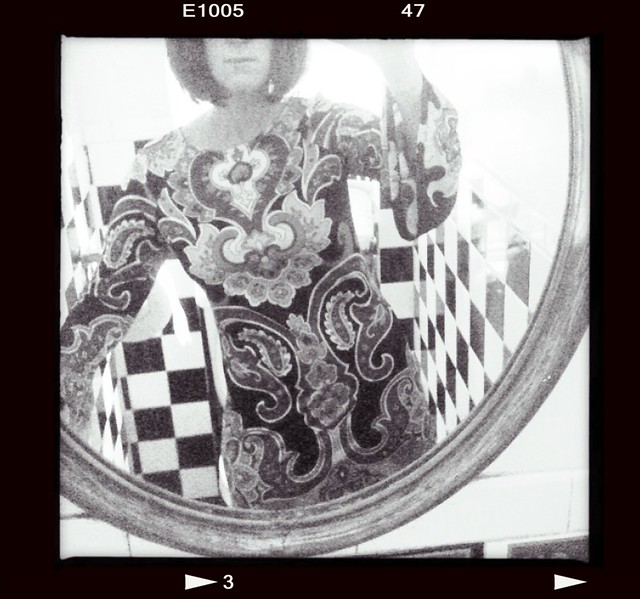
I was out to dinner with a friend when these two sat down. I immediately recognized that they'd set the shot up for me by sitting down perfectly framed by the bar's mirror. It took some time before they finally turned towards one another, smiling and laughing, without the bartender in front of them for me to get my shot.
4.
Trust Your Instincts; Release Those Fears
Ever have a photographic hunch, but because you thought you should be shooting one way, perhaps in a more traditional manner, you didn't take the shot? Often its an unusual angle or unique perspective that grabs our attention the most. Don't be afraid to experiment with your photography. Practice looking at your subjects from all angles, so that when the moment presents itself, you're ready to see it. Also, don't be afraid to raise your camera when you recognize a good shot whether its at home or in public. Having confidence in trusting your intuition will go a long way in capturing the decisive moment.
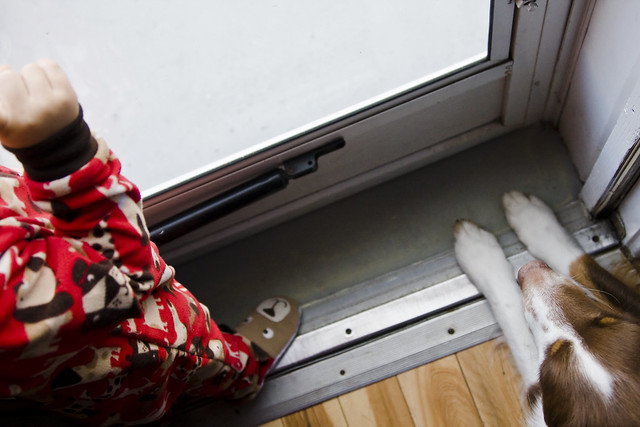
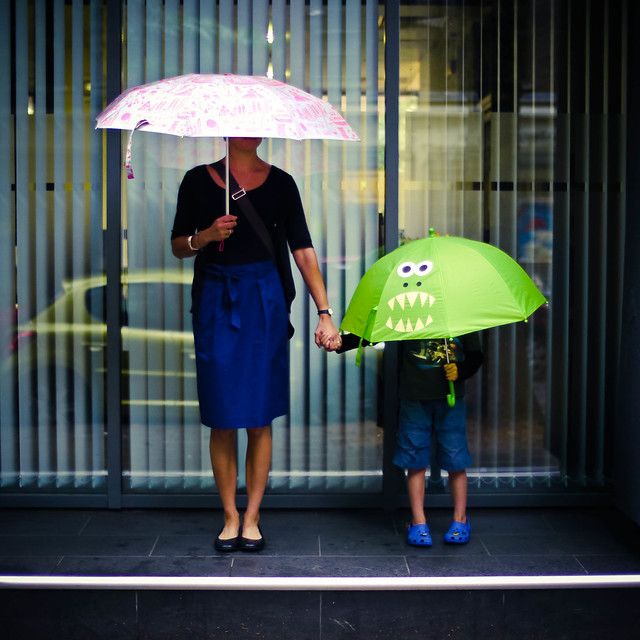
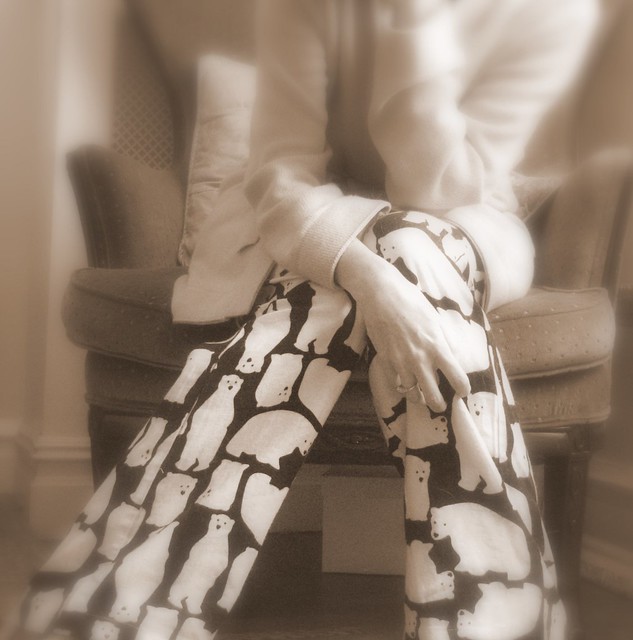
On a visit to our home, my nephew desperately wanted to play with our dog, Major, but was afraid him because of his loud barking, a fact that clearly upset him. Finally, on the 3rd day of the visit, he worked up the courage to stand beside Major and watch a tractor-trailer that was stuck on the block. I wanted to find a way to shoot the two of them together showcasing the fragile bond forming between them. My nephew's footy pajamas featuring dogs captured my eye, and I knew I'd found my shot.
5.
Forget Perfection
Yep, that's right, sometimes, the perfect picture isn't necessarily the most technically sound. In fact, it might be this fact alone that creates your image. Often, we censor ourselves and our work based on the technical perfection of our product. To be sure, technical proficiency is important, but before disregarding a photo as unsound, ask yourself if all the avow elements are present. Do you still get an emotional response from the image? Does your intuition tell you that it holds appeal? Sometimes sitting back for a day or two before weeding out the "bad" ones can help. And remember to go easy on yourself. It's a process of continued growth, and before you know it, you'll be seeing, and capturing, decisive moments whenever you pick up your camera.
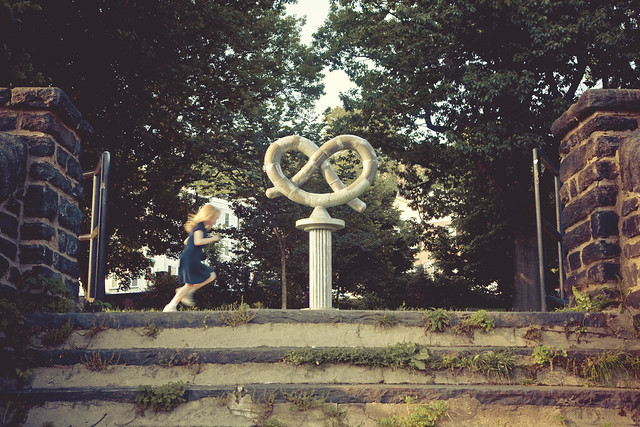
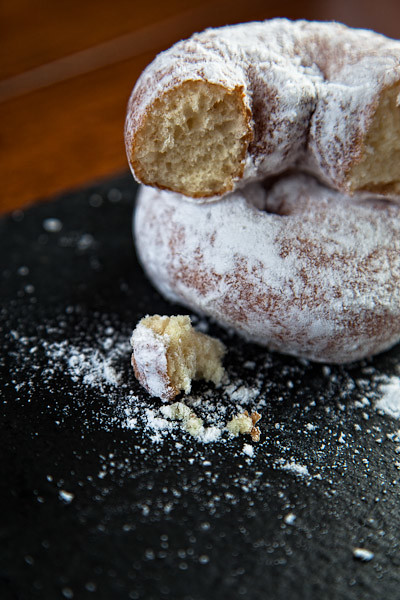
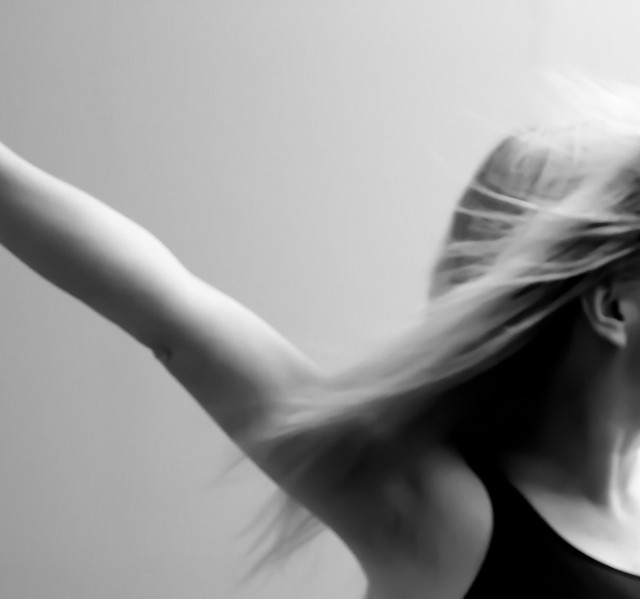
I was getting set to shoot the pretzel sculpture above in a neighborhood park when I noticed this little girl running perfectly into my frame. I was so excited at this stroke of luck, that I forgot to change the shutter speed when adjusting my settings. It happened so quickly! When I realized my mistake, I was very disappointed. It was only later, that I realized capturing the motion blur, in fact, made the shot.
And last, but not least, and the one thing you have no control over, but can sometime play a huge roll in capturing the decisive moment: LUCK! Of course, when you've taken control of the above steps, your chances are much greater that everything will fall perfectly together. But once in a big while, the stars will align just for you and this final element will push your shot over the edge and everything in it will come into place as though it'd been scripted for the scene.
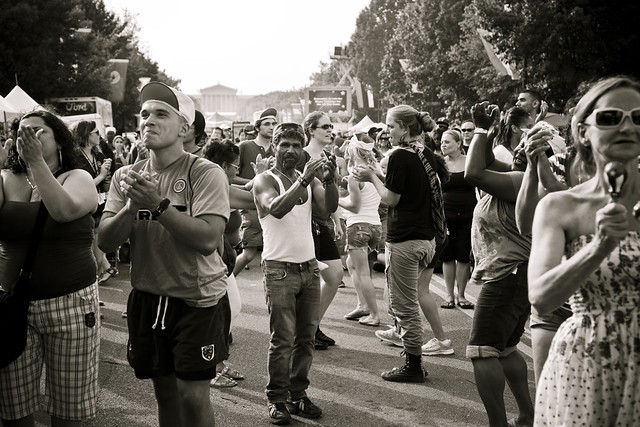
I was aiming to shoot the crowd watching a band at "The Party on the Parkway" for Philadelphia's Fourth of July celebration. In order to capture this moment, I set my camera to AV (aperture priority) mode, held it over my head and aiming as best as I could, clicked. My actions caught the attention of the man in the center who looked directly at the camera at exactly the right moment. I couldn't have been happier with the results. Ok, to be honest, if I'd aimed slightly lower, my composition would have been more complete, but in the end, I was thrilled that I hadn't cut off his feet!
I hope you've found these points helpful, and are ready to go out and look for decisive moments of your own to shoot. With a lot of practice, a lot of patience, and plenty of intentional focus, you'll find yourself reacting to decisive moments without excessive thought. Instead, you will be ready to capture them as they unfold around you. Do you have any other tips or tricks that you use to nail that precise moment? Share with us in comments to keep the dialog going!
Holly ~
Soupatraveler